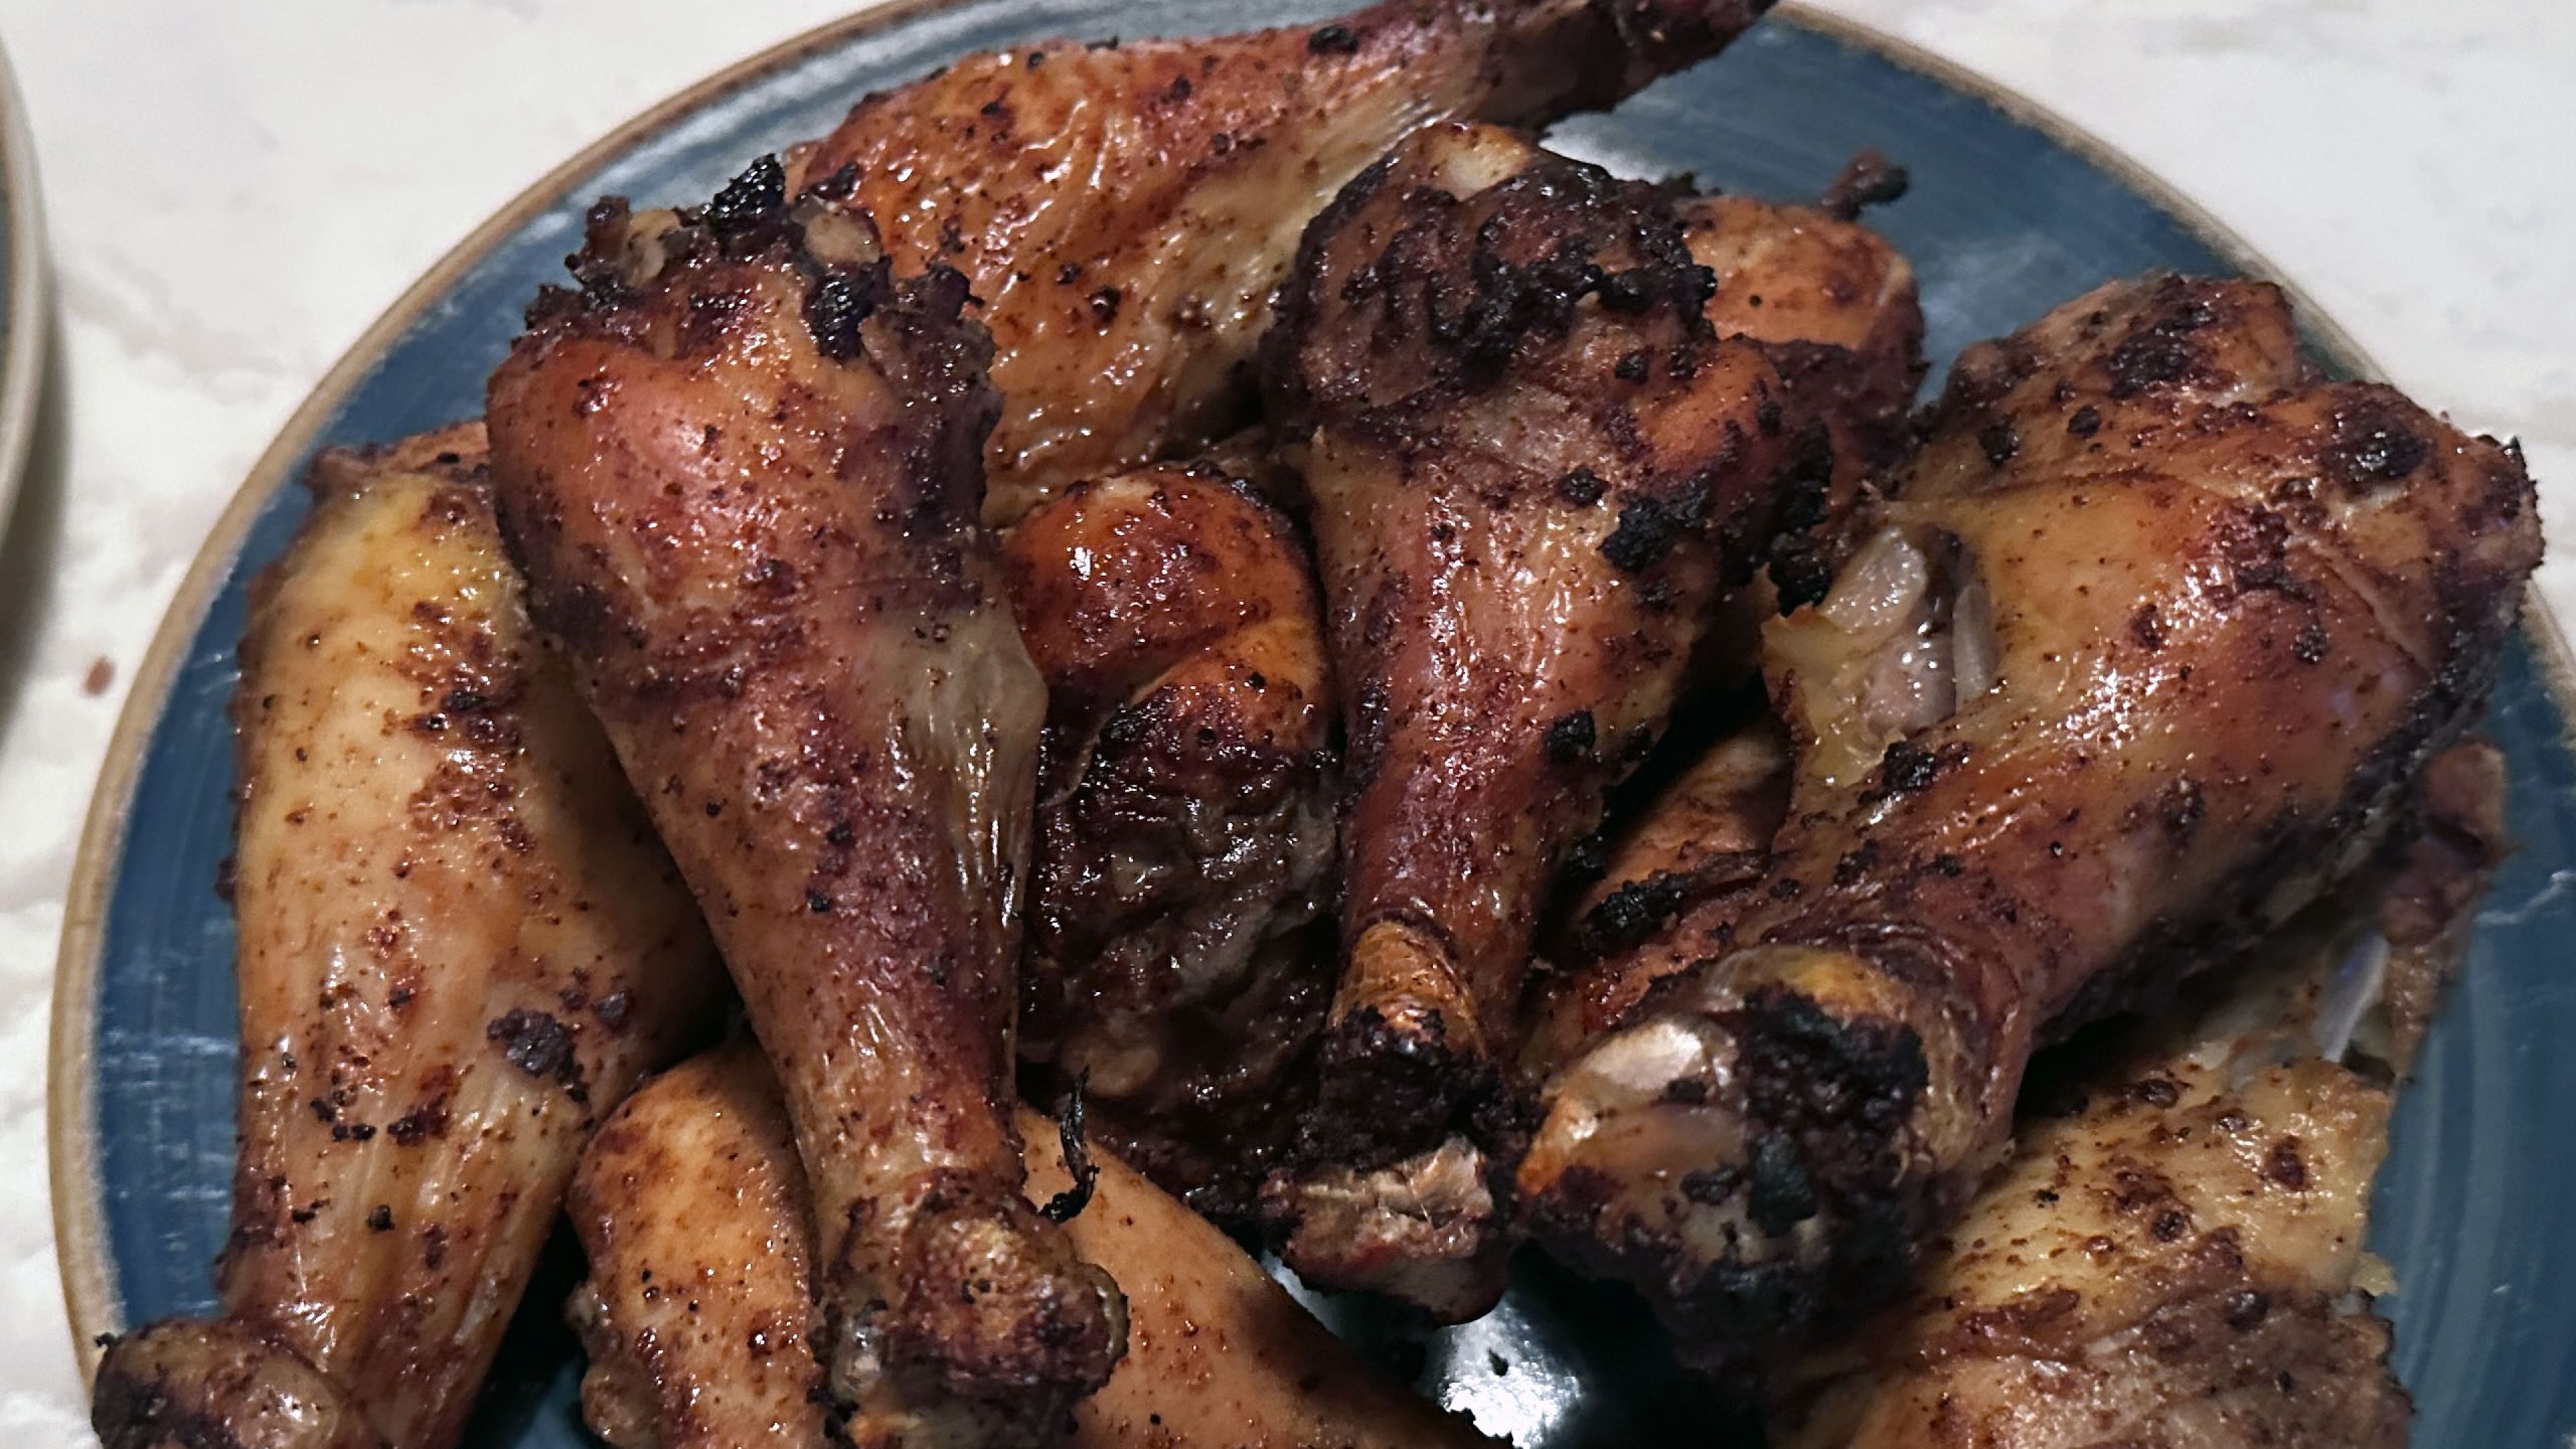
The Best Oven-Roasted Chicken Legs – Juicy & Flavorful
The Best Oven-Roasted Chicken Legs – Juicy & Flavorful
The Best Oven-Roasted Chicken Legs – Juicy & Flavorful
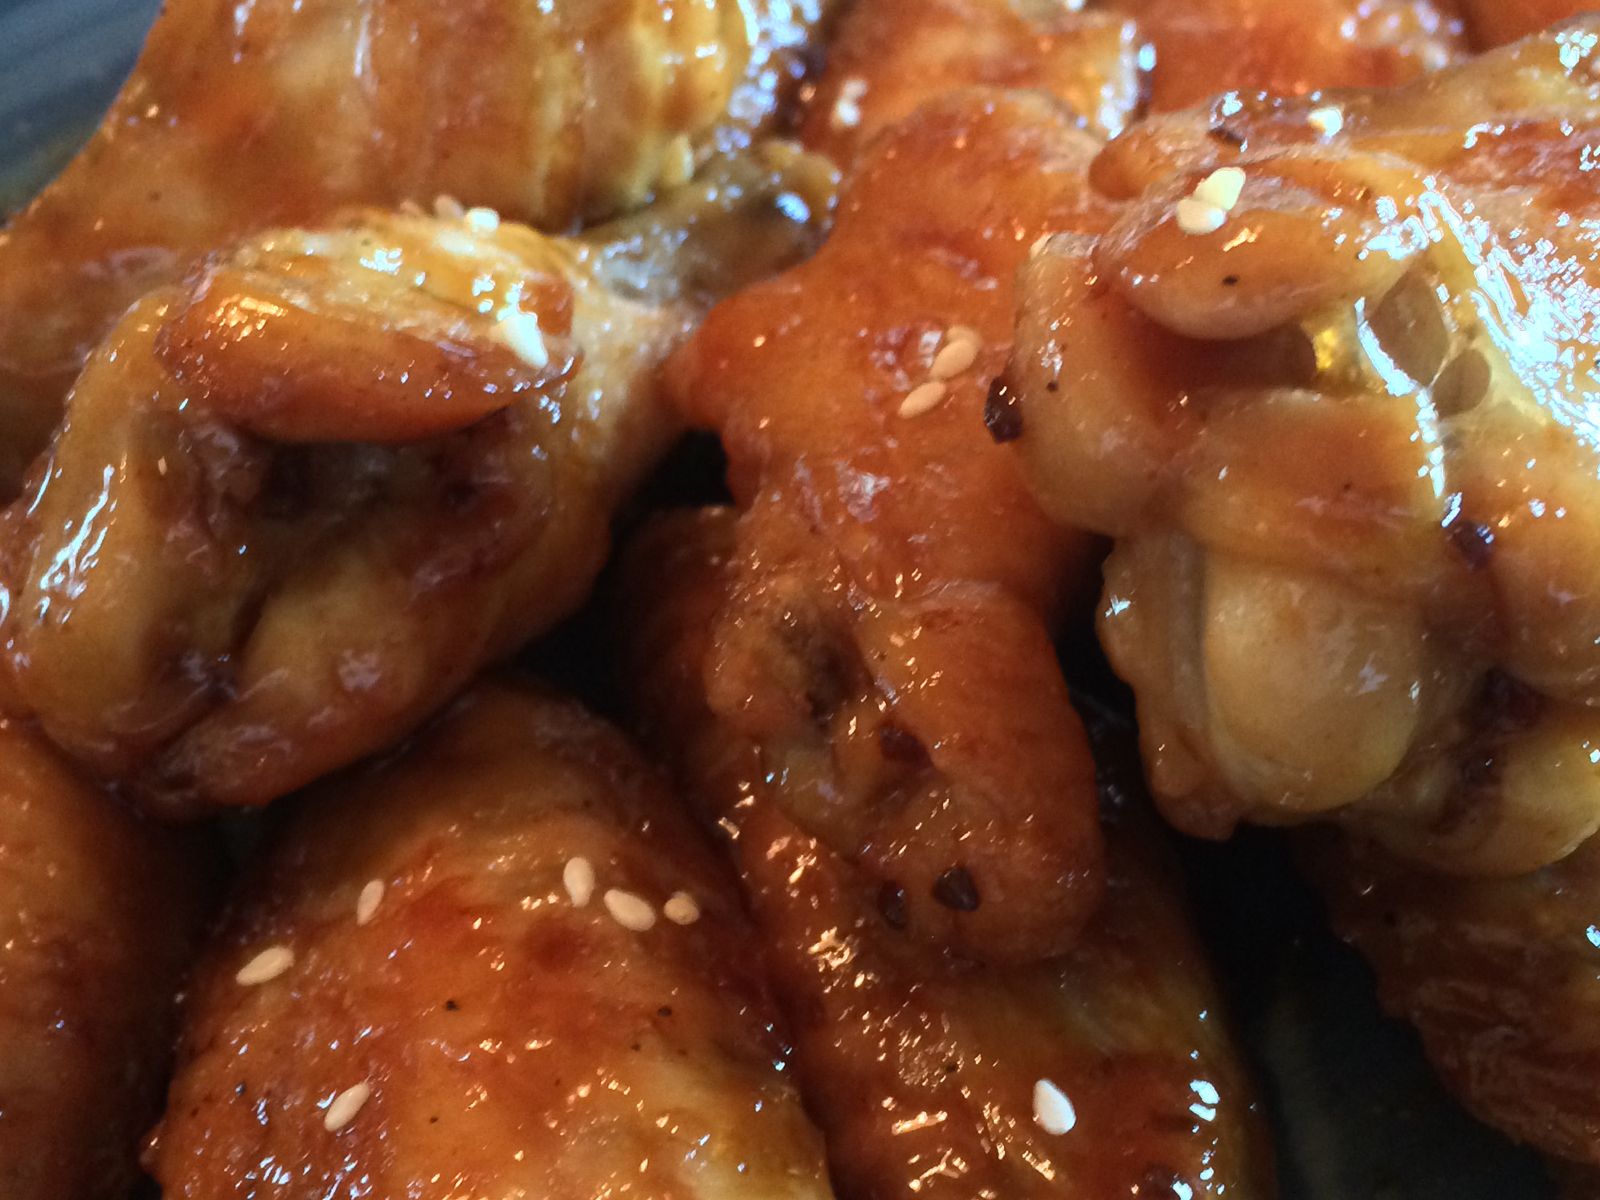
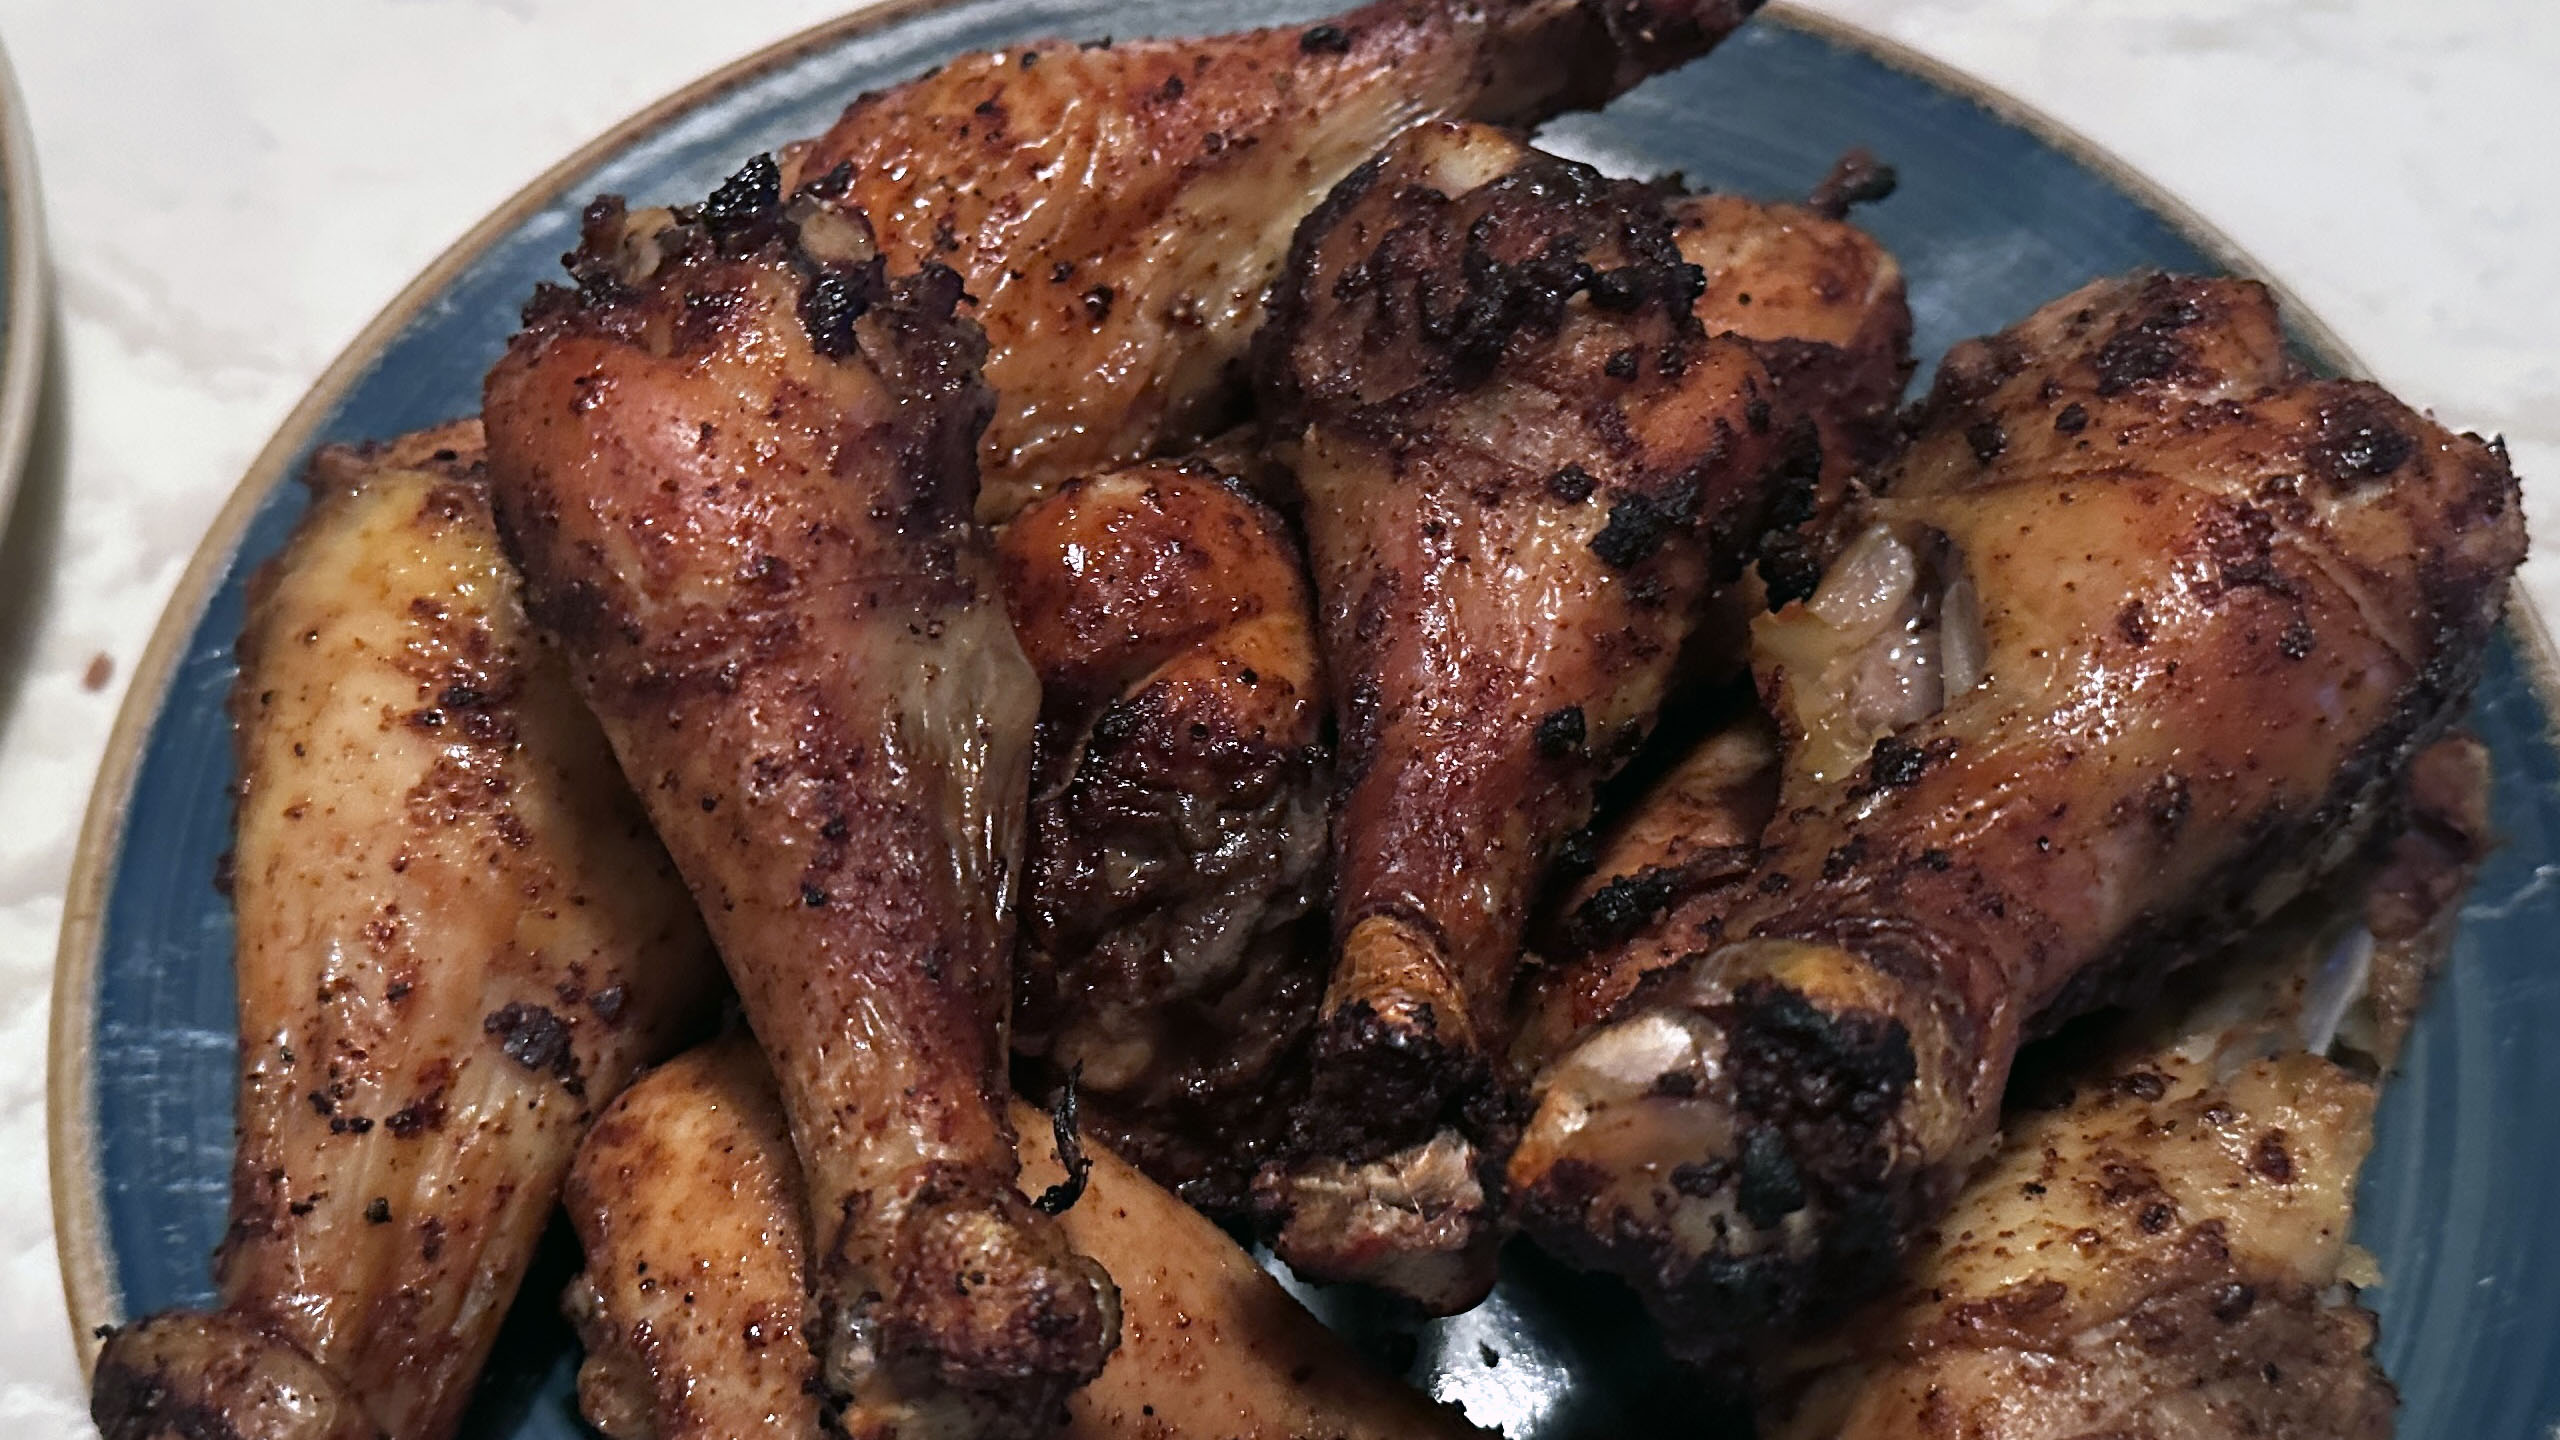
Perfectly seasoned, tender, and juicy, these oven-roasted chicken drumsticks are so good you'll forget they're homemade. Easy to make, hard to share!
Hardware (a.k.a. Tools)
- 1 Vertical Chicken Rack
Software (a.k.a. Ingredients)
- 6 chicken legs
- 2 tsp smoked paprika
- 2 tsp kosher salt
- 1 tsp onion powder
- 1 tsp garlic powder
- 1 tsp dried rosemary
- ½ tsp ground black pepper
- ½ tsp ground mustard
- 1 tbsp olive oil
Procedure (a.k.a. The Magic)
- Preheat the Oven
- Preheat your oven to 425°F. Crank it up! This is the key to getting those drumsticks crispy and delicious.
- Prep the Chicken
- Pat the chicken legs dry with a paper towel like you’re tucking them in for a spa day. Trim off any excess skin—you want the meat, not a skin cape.
- Oil It Up
- Pop the chicken legs into a large zip-top bag. Add the olive oil, seal it up, and give it a good shake like you’re at a chicken maracas competition.
- Season Generously
- In a small bowl, mix all the seasonings (smoked paprika, salt, onion powder, garlic powder, rosemary, black pepper, and ground mustard). Pour the seasoning mix into the bag, seal it up again, and shake until every drumstick is coated like it’s ready for its close-up.
- Bake to Perfection
- Line a baking sheet with foil and spray it with non-stick cooking spray (because stuck-on chicken isn’t fun). Arrange the chicken legs on the baking sheet with enough space for them to breathe. No crowding!
- Place the baking sheet on the middle rack of the oven and bake for 40 minutes. Flip the legs halfway through so both sides get their time to shine.
- Check the Temperature
- The chicken is done when the internal temperature reaches at least 165°F, but if you really want to win at life, aim for 185-195°F. This makes them ultra-tender and fall-off-the-bone good.
- Rest & Serve
- Let the chicken rest for 5 minutes after baking (yes, it needs a nap too). Then, dig in and enjoy the juicy, crispy goodness.
Notes
Make It Extra Crispy: For an extra-crispy finish, broil the chicken for 2-3 minutes after baking.
Mix It Up: Try adding cayenne for a spicy kick or swapping rosemary for thyme for a different flavor profile.
Easy Cleanup: Use parchment paper under the foil for even easier cleanup.
Delicious Destinations:
