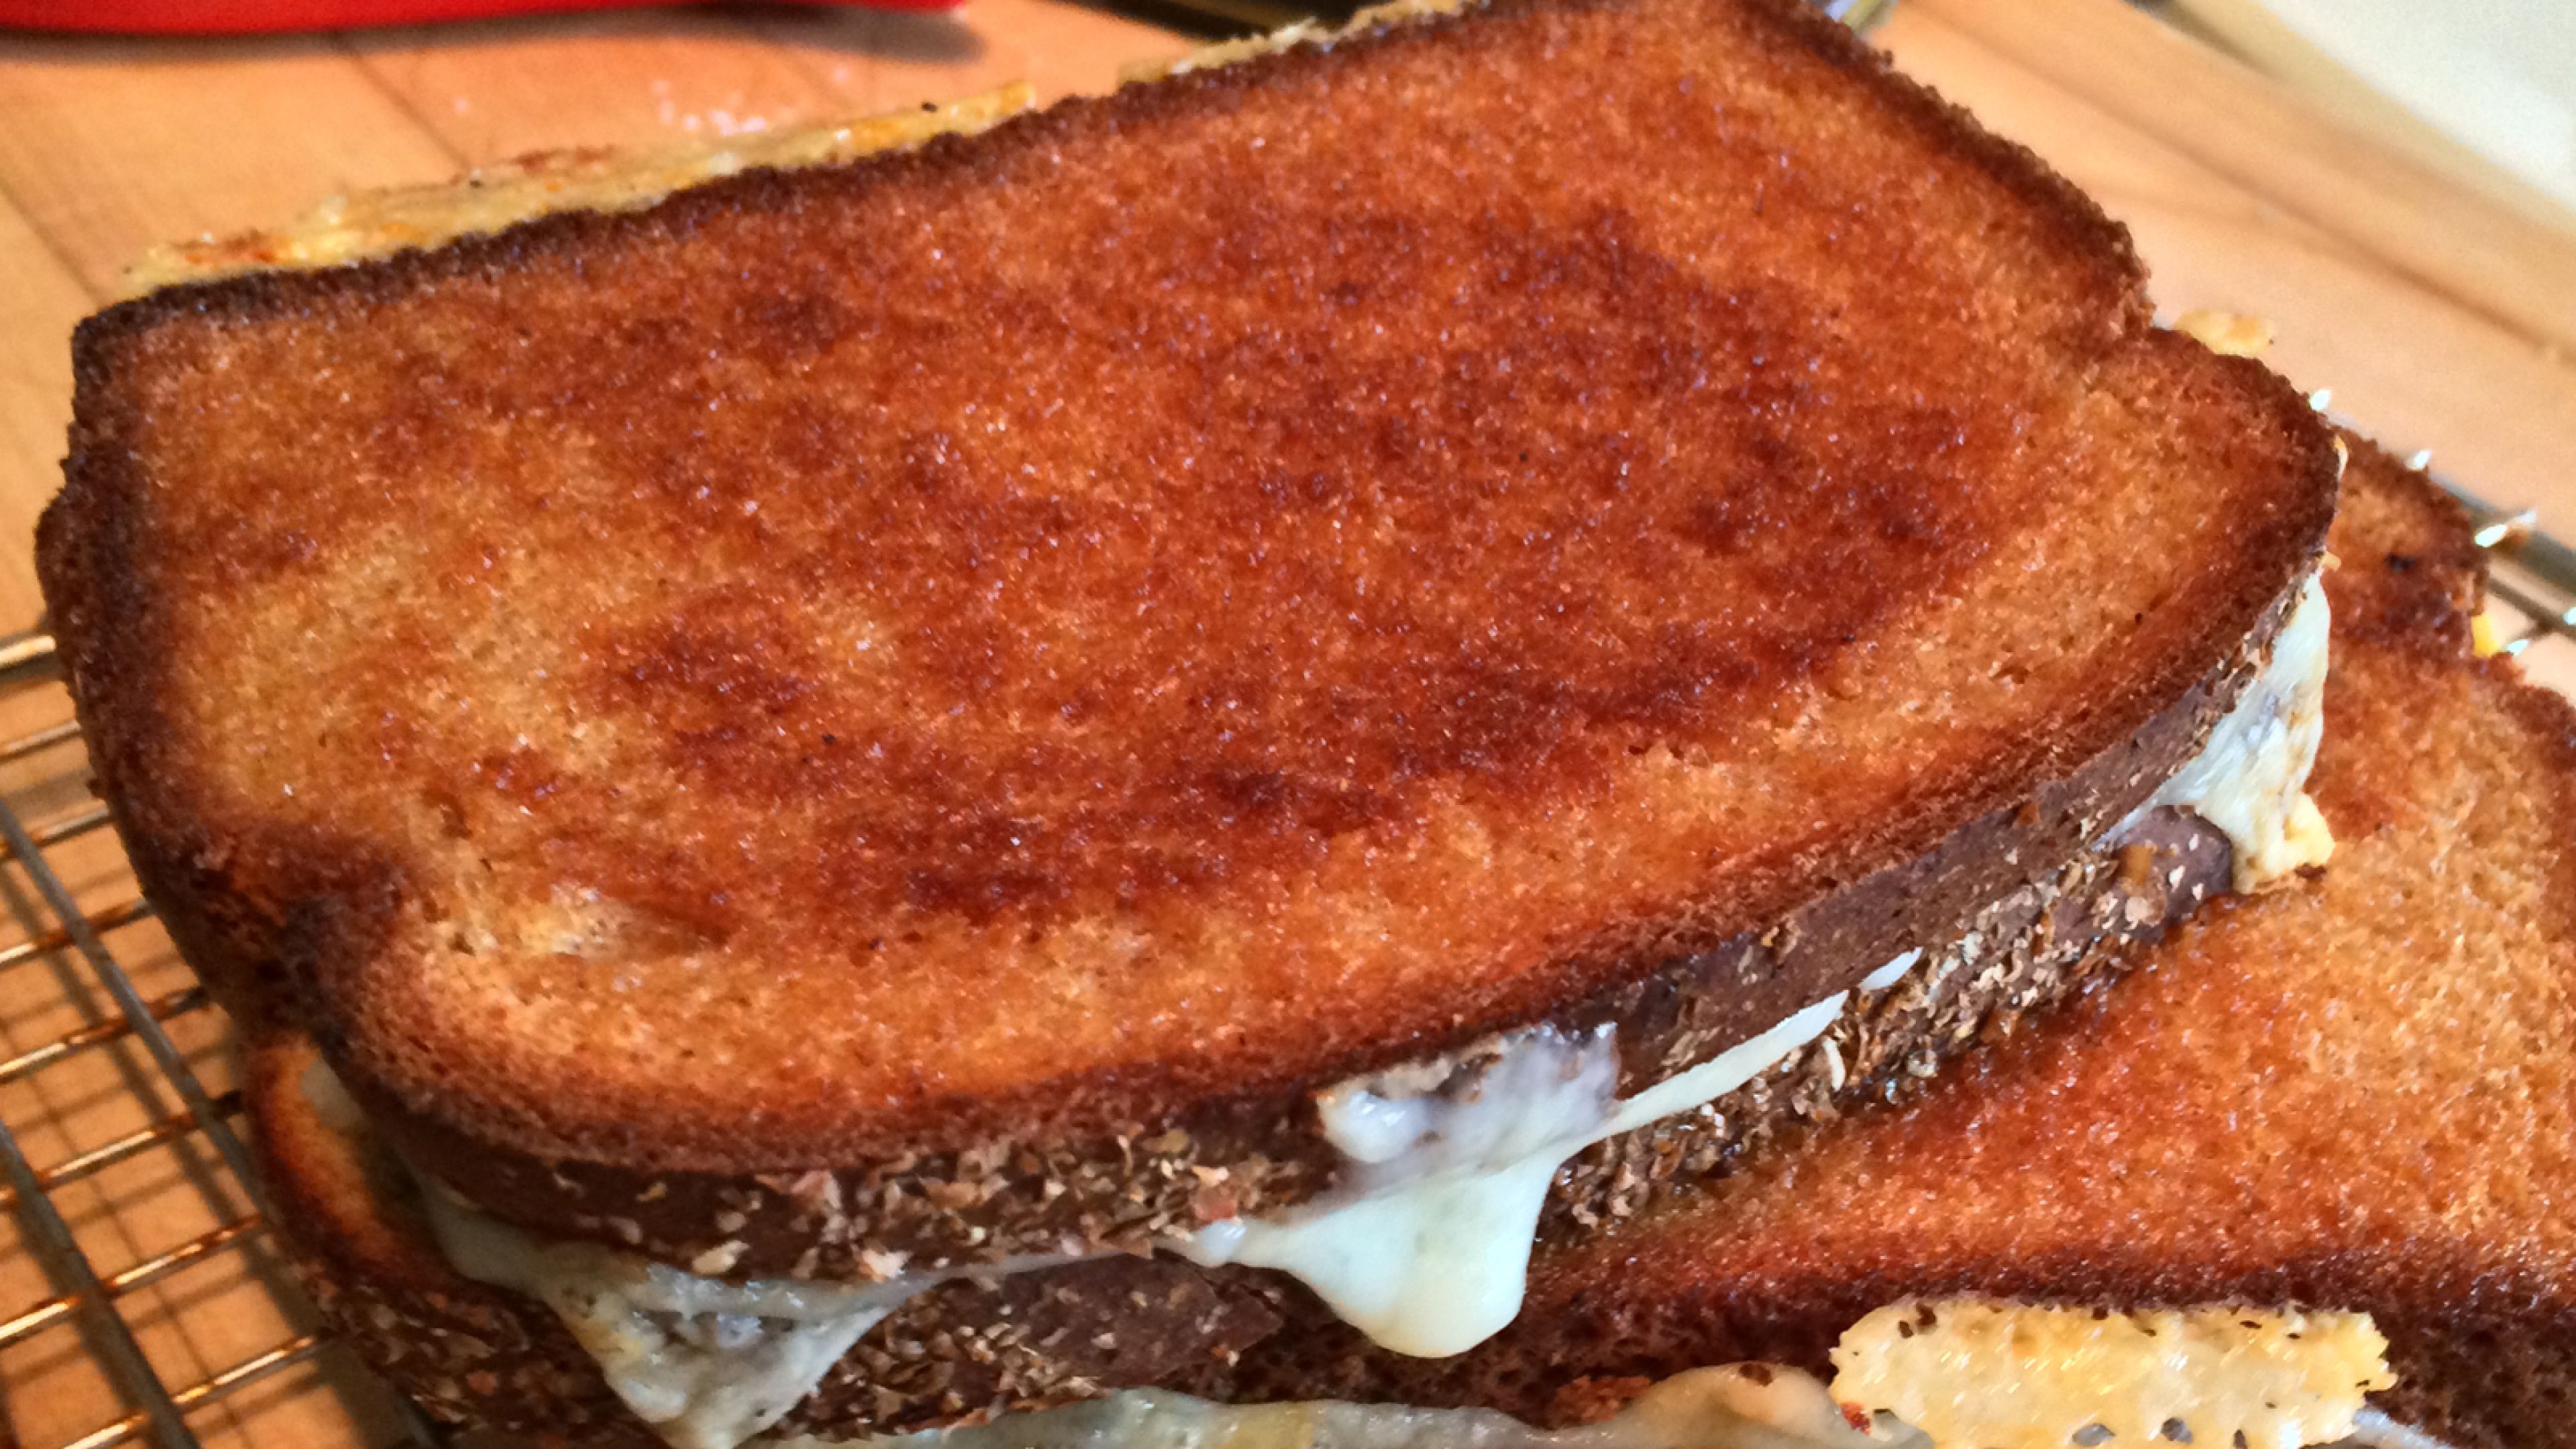
The Lunch Lady Grilled Cheese
The Lunch Lady Grilled Cheese
The Lunch Lady Grilled Cheese
Grilled cheese is all about opposites: that melty, gooey interior paired with a satisfyingly crunchy crust. This recipe is less about strict rules and more about embracing the process, but if you want to follow my lead, here’s the game plan. Buckle up—it’s cheesy bliss ahead.
Software (a.k.a. Ingredients)
- 4 slices of your favorite bread I’m team wheat berry, but follow your carb-loving heart
- 2 tbsp butter spread, or mayonnaise (but seriously, save mayo for last-resort situations)
- 2 slices Havarti cheese Cracker Barrel knows what’s up
- 2 slices white cheddar cheese
- 1 oz grated Romano cheese fancy cheese sprinkling is mandatory
- Sriracha hot sauce to taste we’re bringing the heat, folks!
Procedure (a.k.a. The Magic)
- Step 1: Preheat and Prep
- Fire up your oven to 425°F. Line a sheet pan with parchment paper because we’re classy and don’t want cleanup drama.
- Step 2: Butter Up
- Slather 1/2 tablespoon of butter (or your spread of choice) on one side of each slice of bread. Be thorough—no dry corners allowed!
- Step 3: Build the Cheese Castle
- Place one slice of bread butter-side-down onto the parchment. Spread a layer of Sriracha on the naked side—don’t skimp if you like it spicy. Now, layer on the Havarti, sprinkle the grated Romano, and top it off with the cheddar.
- Spread another coat of Sriracha on top of the cheddar (because why stop at one layer of fiery goodness?) and crown your creation with the second slice of bread, butter-side-up.
- Step 4: Bake It Up
- Pop the sandwiches into the oven on the middle-upper rack. Bake for 5 minutes to get that bottom side nice and toasty.
- Now, here’s the magic move: flip the sandwiches over and rotate them on the parchment (find a hotter part of the pan—it’s like musical chairs for bread). Bake for another 5 minutes, or until both sides are golden brown and screaming “Eat me!”
- Step 5: Cool It
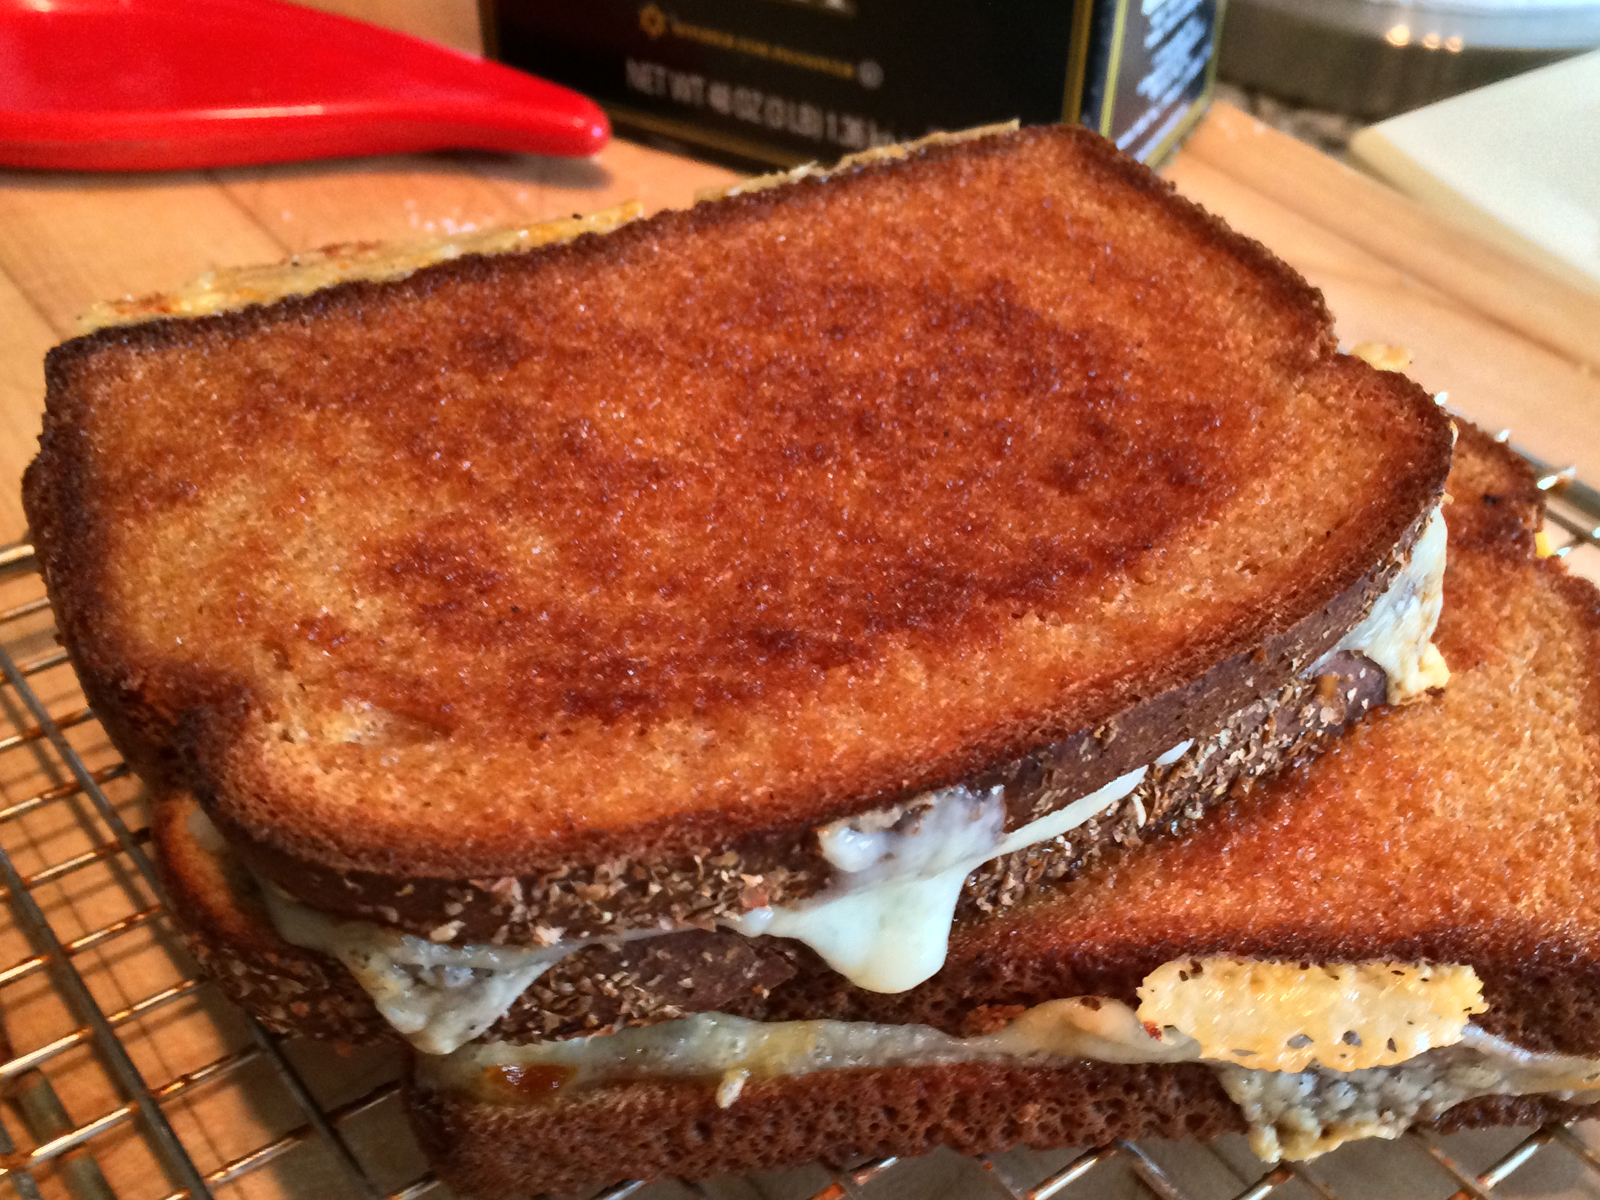
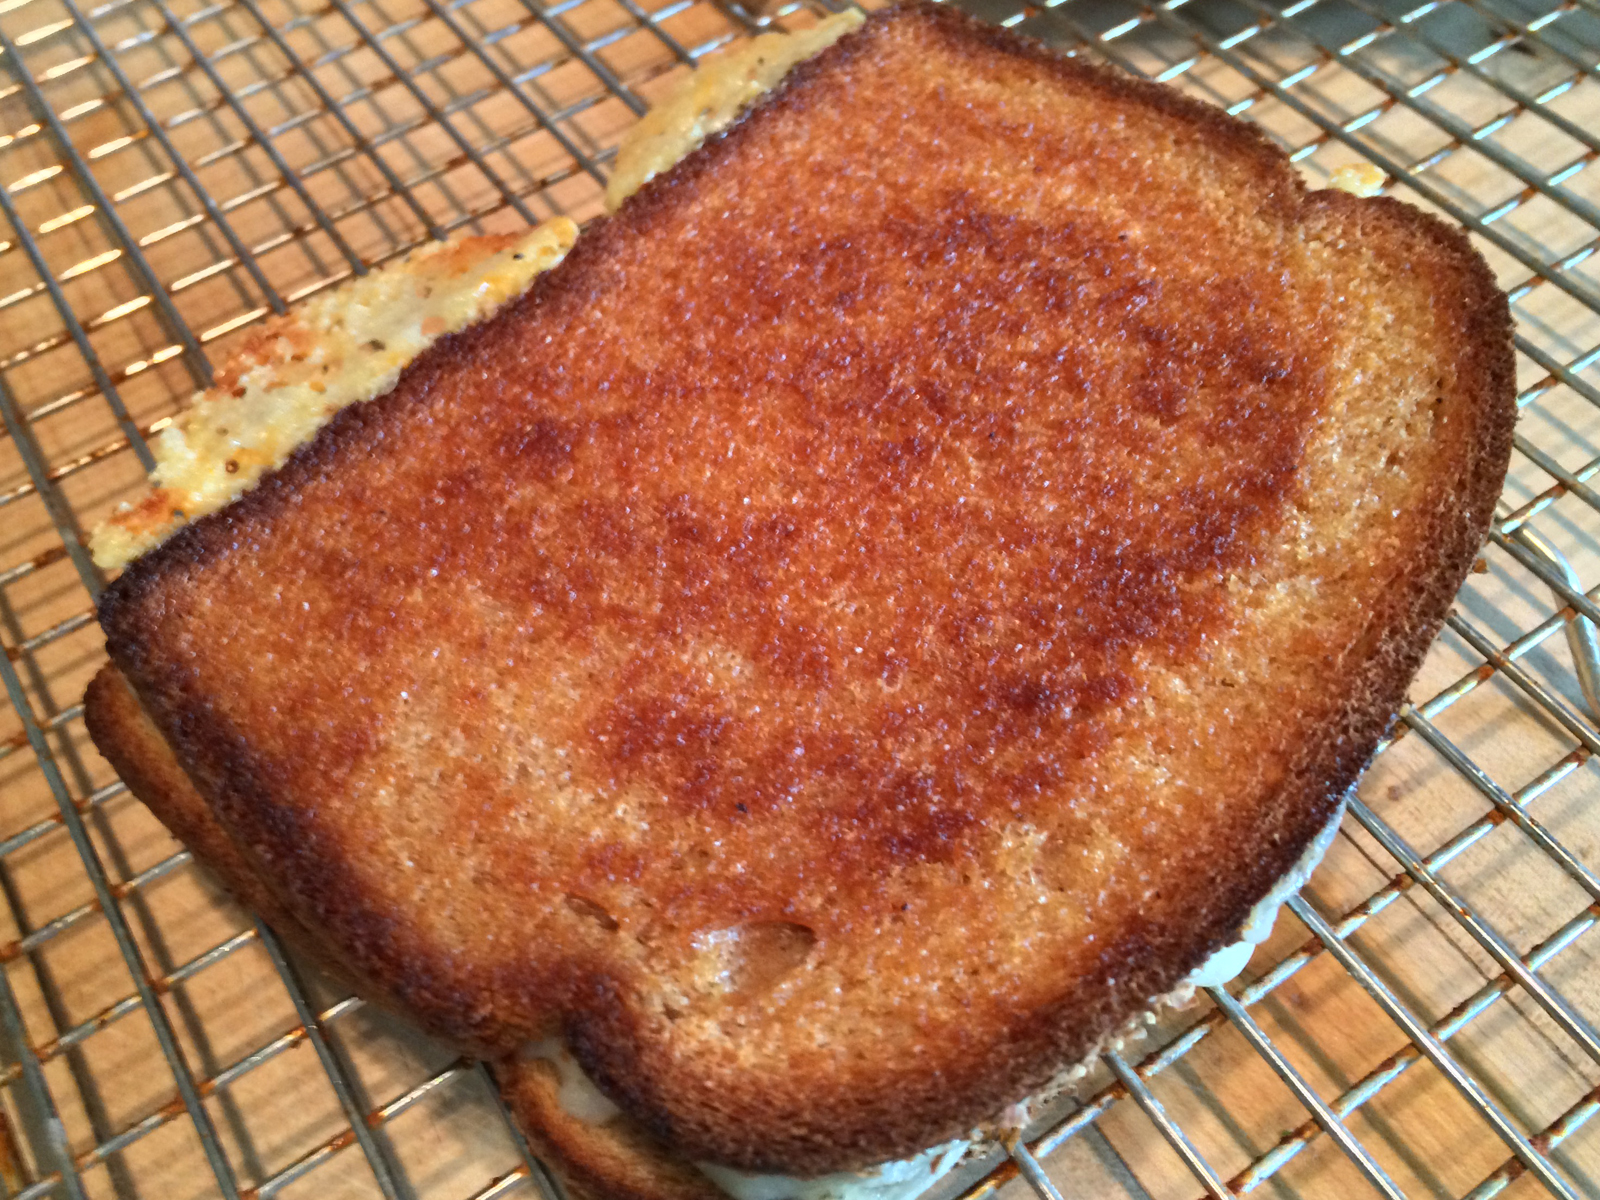
- Resist the urge to plate your masterpiece right away. Instead, transfer the sandwiches to a wire rack. This step is crucial—putting that hot sandwich on a plate will trap steam underneath, turning your crispy bread into a sad, soggy mess. Nobody wants that.
- Step 6: Devour
- Once your sandwich has cooled enough to handle, dig in! Bonus points if you pair it with tomato soup or a side of pickles for dunking and crunching, respectively.
Notes
This is a grilled cheese, not a race. Take your time, savor the process, and embrace the cheesy nirvana you’re about to achieve. Remember, a soggy sandwich is a tragedy, but a perfectly crispy one? Pure joy.
Delicious Destinations:
